If you need to access the ClickCard admin panel to manage users, QR Codes, templates, and your company's metrics, this guide walks you through the complete step-by-step.
The platform was built to simplify managing corporate digital business cards, giving you full control of your operation in just a few clicks.
Official access to the panel is through the ClickCard Company platform.

To access your account:
After logging in, you'll be taken to the admin environment, where you can manage every resource on the platform.
If you can't access your account:
Check the email the ClickCard team sent with your initial access details
If needed, request support at contato@clickcardapp.com
Keeping your access details up to date ensures more security for your company.
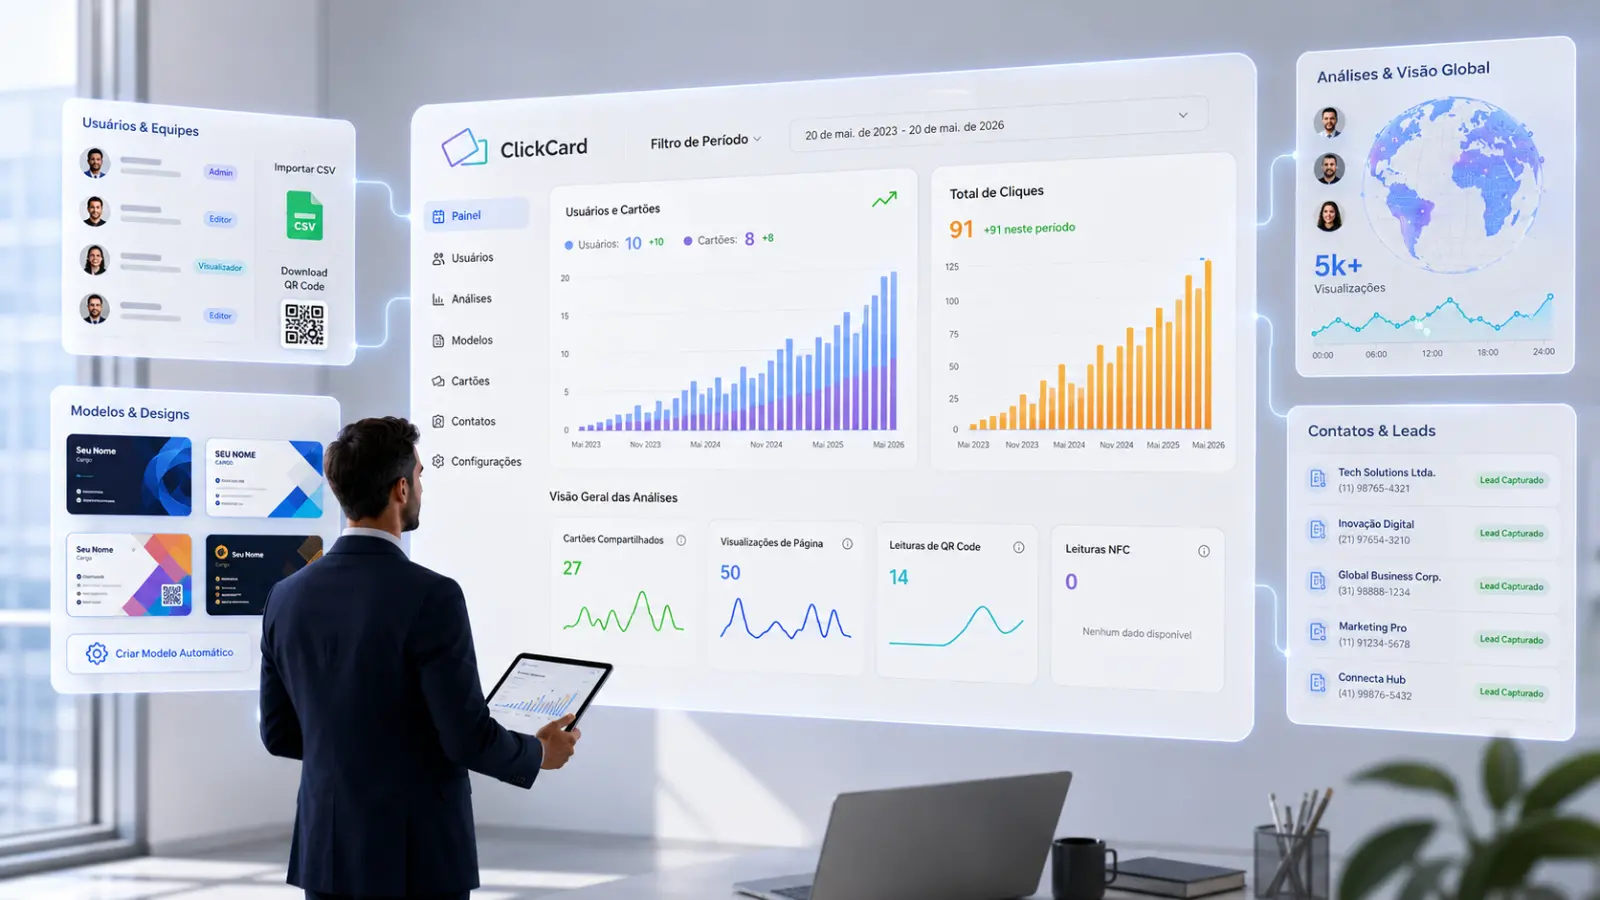
Main areas of the panel

Having access to the right data makes all the difference in decision-making. With a smart dashboard, you can track the performance of your digital business cards in real time and understand how users are interacting with the platform. [Find out in detail why a control panel is essential for analyzing your team's results].
On this screen, you can view metrics such as:
Number of registered users and cards;
Total clicks and views;
Indicators in green showing the growth recorded in the selected period, making it easy to compare performance;
Shares made and how many times the card was accessed;
Scans via QR Code and NFC.
The charts also help you spot trends, growth, and engagement levels over the period analyzed, making data visualization much more practical and strategic.

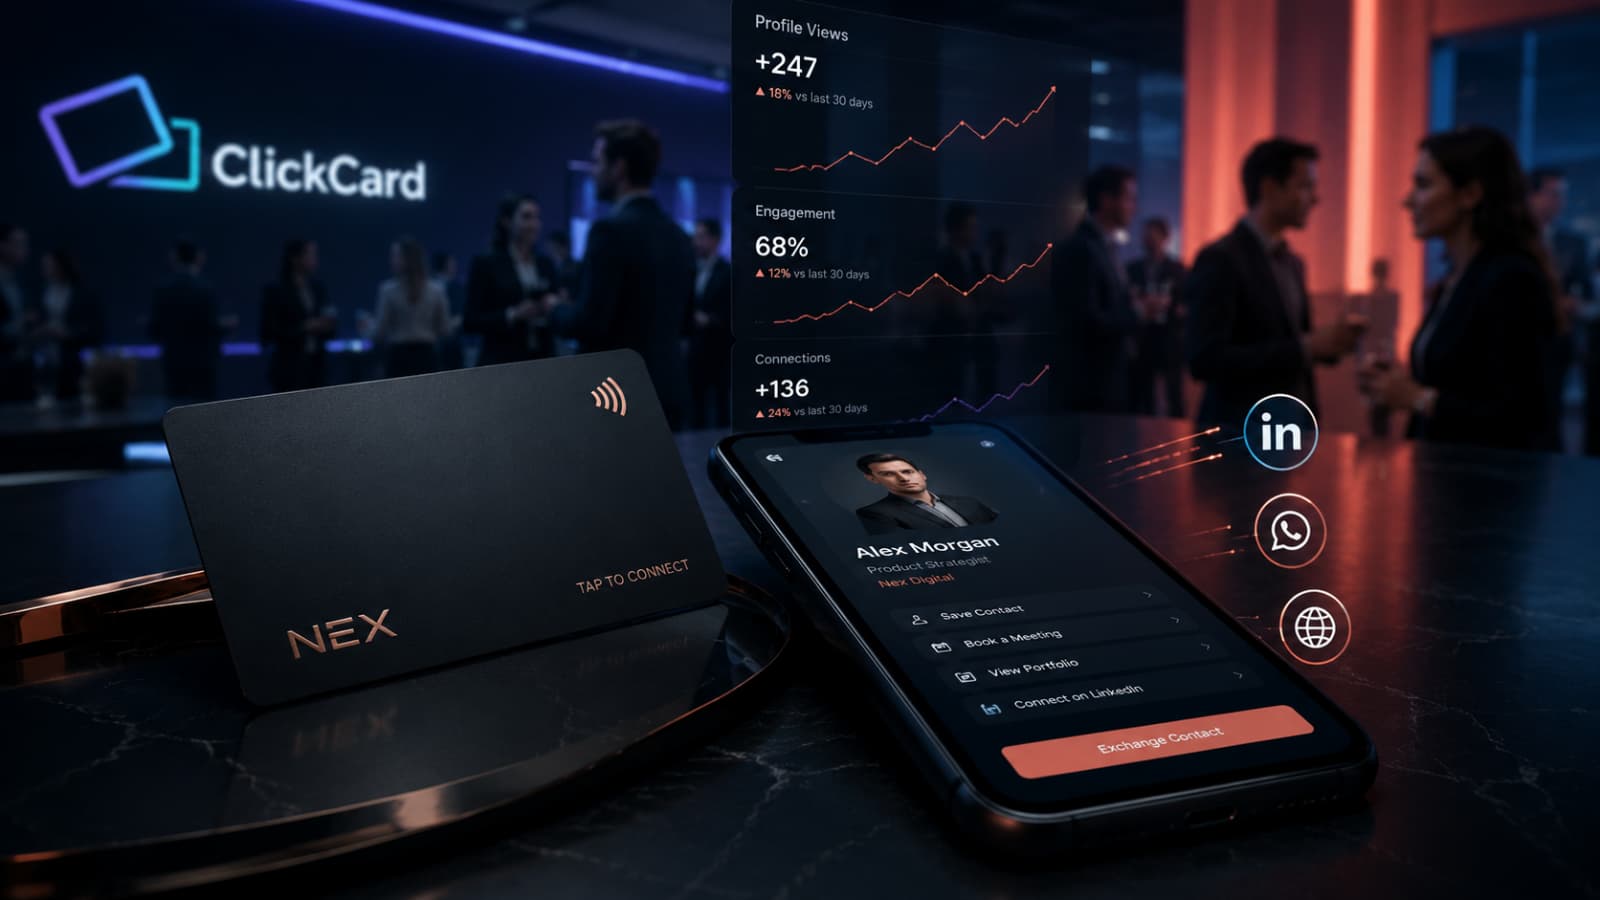
Beyond the main metrics, analytics offers advanced analysis that helps you understand user behavior and digital business card performance in greater depth.
With smart filters, you can select specific periods, groups, or users to view personalized data. The platform also presents detailed indicators such as:

This screen also presents detailed analysis of the times and days of the week with the highest access volume, along with the types of interaction visitors use most. This lets you identify usage patterns, understand which features generate the most interest, and make more strategic decisions to improve results and expand the reach of your digital business cards.

The system also offers advanced real-time monitoring features. One screen presents a geographic heat map, showing the regions where the most interactions with digital business cards occurred. This makes it easy to analyze reach and engagement by location.
Another important feature is the real-time activity screen, which displays the latest interactions on the platform, letting you follow accesses, shares, and user actions instantly.
In addition, the dashboard highlights the top-performing cards and users, making it easy to identify the most active profiles and the strategies generating the most results.
The users area was designed to make it easy to fully manage the team members registered on the platform. There, you can view all registered users, track the activation status of their digital business cards, and quickly access each member's key information.
The system also lets you edit registration data, confirm emails, and keep information up to date in a practical, organized way. In addition, the platform offers the option to download the digital business cards' QR Codes, either individually or in bulk, making it easy to print, share, and use them at events, on badges, or in corporate materials.
Lets you register users individually or import multiple team members via a CSV file.
Organize users when there is more than one card template, ensuring each team accesses the correct card.

The templates area lets you manage all the digital business card templates available on the platform in a simple, organized way. There, you can view the registered templates and assign specific groups to each one, making it easy to segment and control the cards your company uses.
In addition, the platform features automatic card creation for team members, making the process much faster and more efficient. With it, new users can automatically receive their digital business cards based on the defined template and group, streamlining the operational flow and reducing your team's manual work.
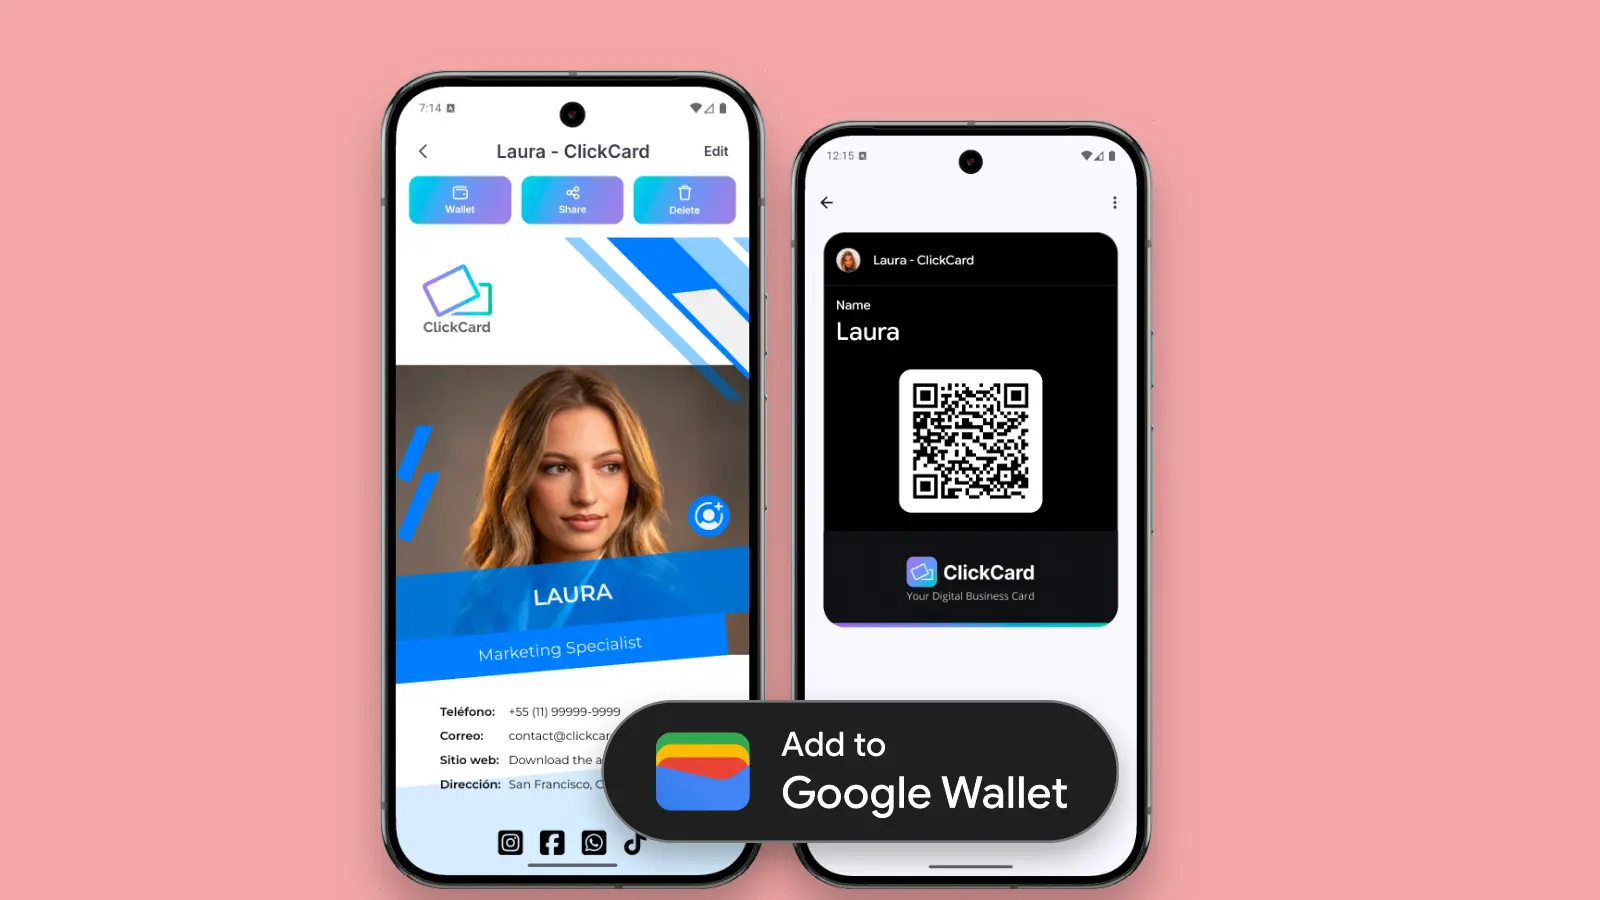
Lets you view and access all the digital business cards created.
Track the queue of new cards being created.

View all the contacts captured by your team members for lead management.
Manage the notices and banners shown on the app's home screen.
Create admin profiles for managing the panel.

Company profile
Password change
Language
Add the ClickCard domain as a trusted sender in your corporate email provider.
This keeps important messages from being sent to spam.
The ClickCard admin panel was created to make managing corporate digital business cards simple, fast, and strategic.
With it, your company can:
To take advantage of all the platform's features, access the official ClickCard panel now and explore everything it offers.