ClickCard, a company dedicated to professional networking, offers a powerful tool in its app: the Digital Business Card Creator. With this feature, users have access to free and paid custom templates.
Below, we present some of our available free digital business cards. If you want to get one of them, just download the ClickCard App and customize your own card!

But before you start using the Creator, you need to follow a few steps, such as creating your account.
ClickCard's goal is to simplify the contact sharing process. To do this, we developed an app that lets users create their own digital business cards. Our platform offers a variety of templates to test, in order to meet different needs.
To make this tool available to everyone, ClickCard offers free templates in its app, which can be easily customized by the user. The free digital card templates allow you to integrate contact data, such as email, phone, social networks and address. In addition, you can edit photos, backgrounds and other graphic elements unique to each template.
You may be wondering: "How do I create a digital business card in the ClickCard app?" Keep reading this blog post, because I am going to teach you!
After installation, the user can create their account in the app, providing an email and password to log in. This information is then sent to the registered email in order to confirm the account registration.
After confirming the email, the user can personalize their profile, providing their name, age, position, photo and company. This information can be filled in later or at the time of registration, allowing the user to skip this step if they wish.
Once registration is complete, the user will have access to several tools available in the app. They are: metrics, proximity search, sharing and, of course, the creation of digital business cards.
In this blog we will teach you how to use the Creator, a free and interactive ClickCard tool to create your own digital business card.

Creating a digital business card in the ClickCard app comes down to 5 steps. They are:
Templates: where the user chooses the card template they want to use;
Photo: where the user can upload a profile image of themselves or their company;
Info: the space where the user fills in their contact information, such as email, name, position, website;
Social: the field where the professional chooses and adds their social networks;
Design: the step where the user can edit the graphic elements of the chosen template, such as background, icon colors and images.
After these steps, the user will already have their digital business card ready for viewing, editing or sharing.
But for a better understanding, we will go through the Creator step by step.
Keep reading to learn the particularities of each one.
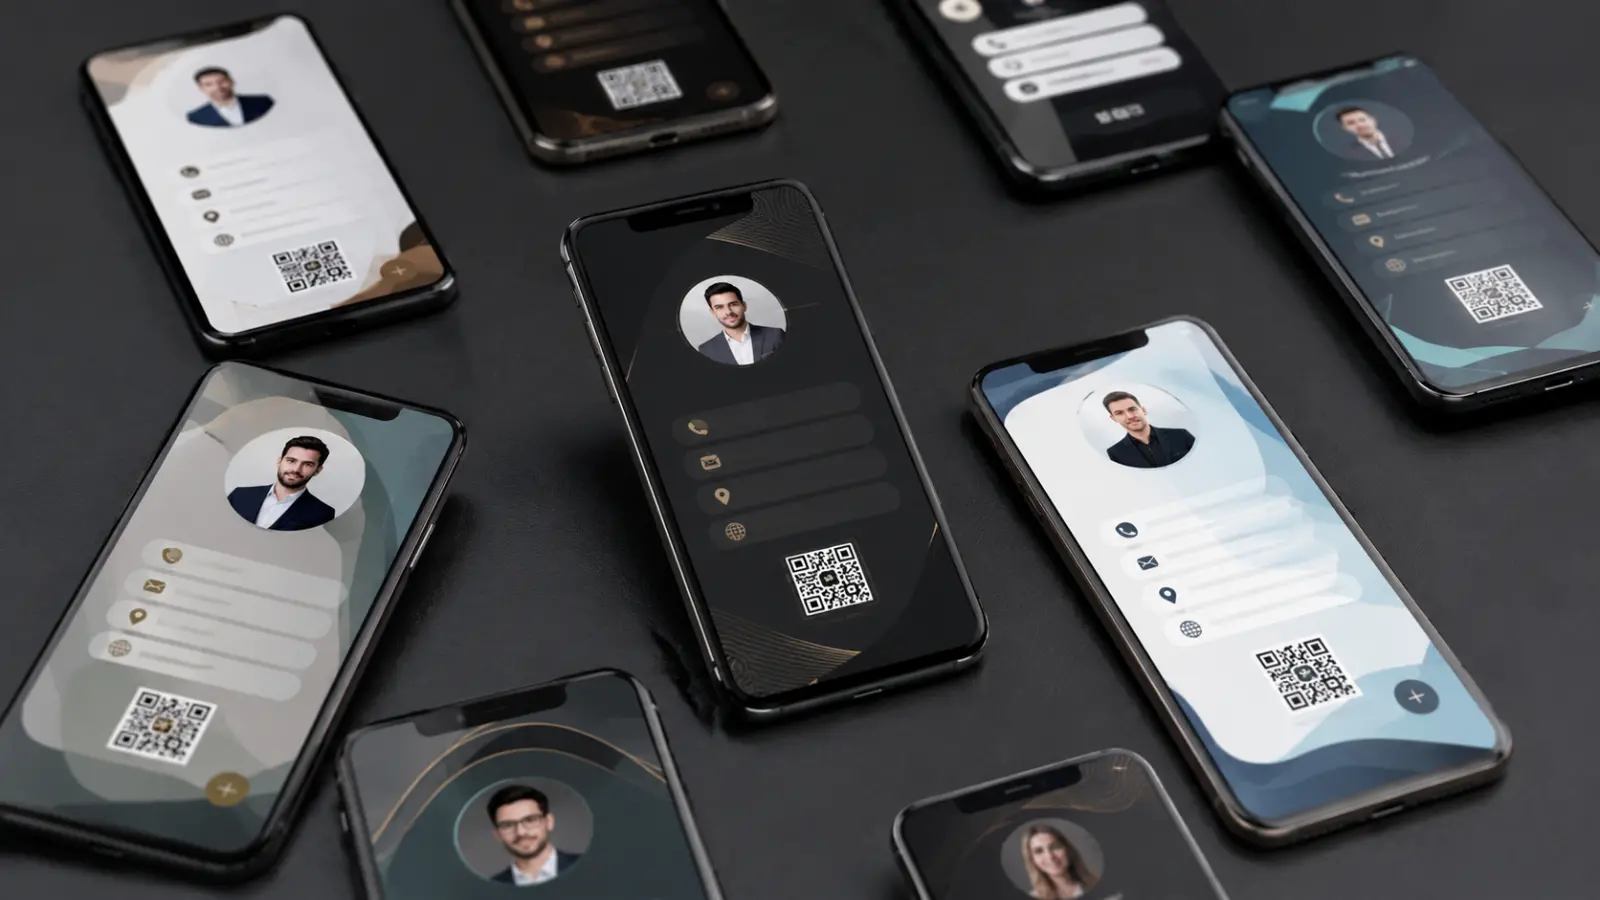
When you open the ClickCard Creator, you will have access to a wide variety of pre-formatted templates. Customize the one you prefer according to your profile.
In this step, you will find several free templates, each one carefully designed with specific information.
Each template offers a unique combination of colors, icons, typography and other graphic elements. So that you have a personalized card that suits your brand, just choose the right template and edit it accordingly.
The idea is to give you the opportunity to have an exclusive digital business card, even in the free version.

After choosing a digital business card template and selecting it, the next step is the photo step. At this point, you have the option to upload an image of yourself or your company logo.
To upload the photo, it is important to allow the app access to your phone's media. This way, you can select an image directly from your device's gallery or search for the logo in the app's search field.
The field for the image has a ratio of 1080x1080 pixels. It lets you make the cuts or rotations needed to fit it into the available space on the digital business card. This way, you can make sure the photo is perfectly aligned and highlighted.
Adding a photo to your digital business card gives it a personal and professional touch, allowing people to identify you visually. Do not miss the opportunity to convey an impactful image through this essential step.

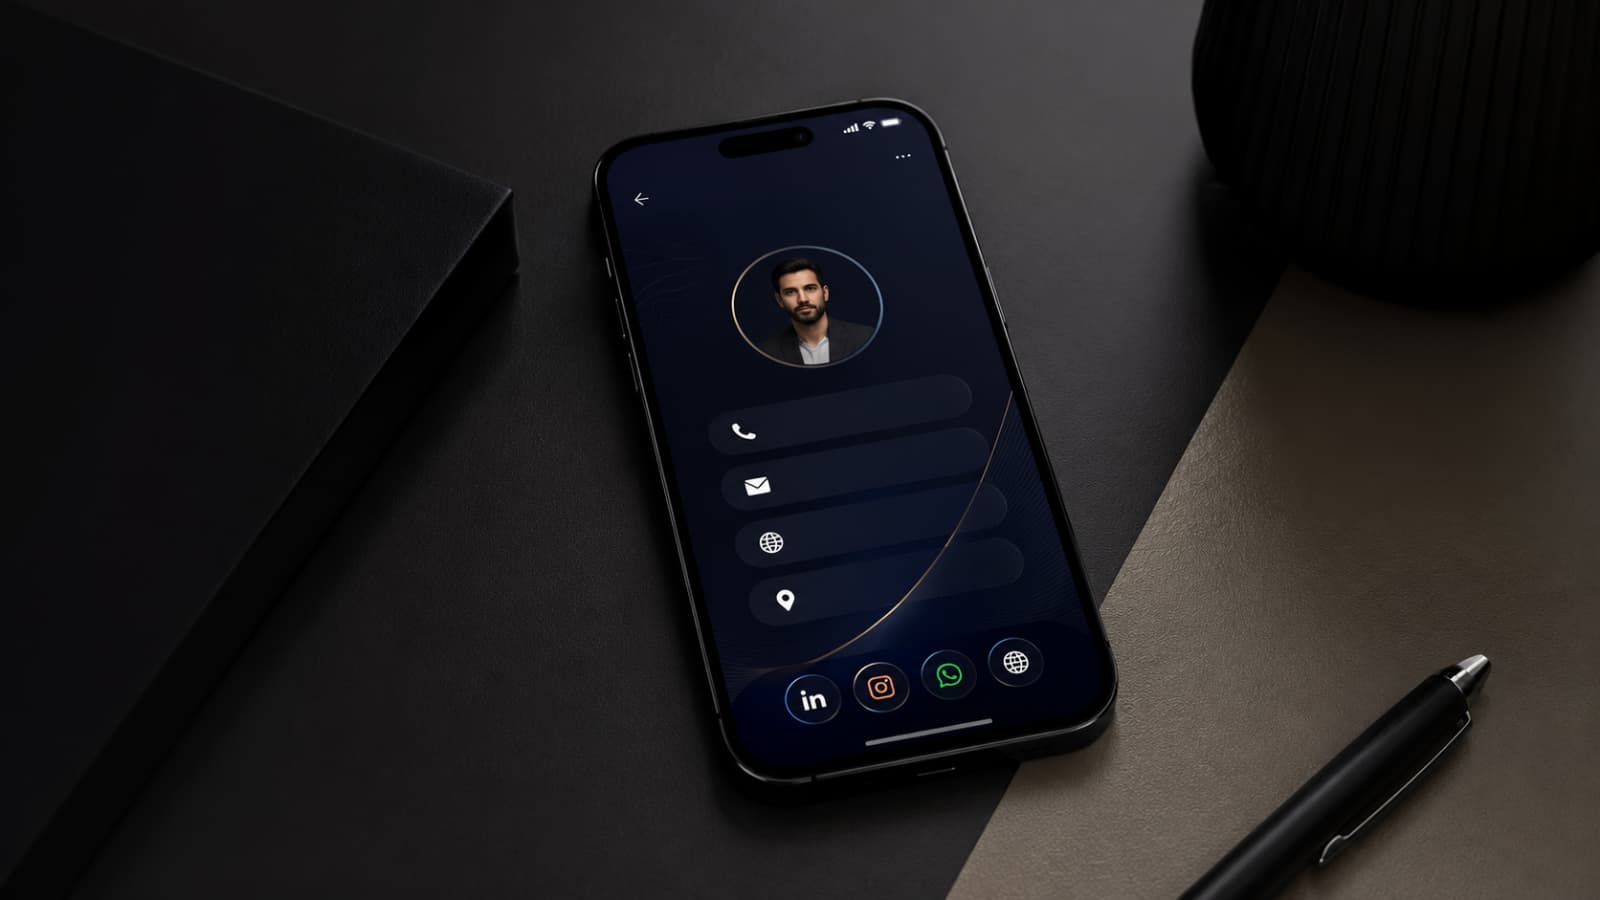
After uploading your selected image, it is time for the contact information you want to include on your digital business card.
In this step, you can add your name, position, mobile number, email address and website.
There are two ways to fill this in:
The first is to manually enter your information in each corresponding field, accessing each one individually.
The information added in this section is the contact information that will be visible on your digital card.
It is essential so that people can contact you easily and directly when they access your card.
Be sure to provide accurate and up to date information. These details will be the main form of contact for those who access your digital card.
Make sure your contacts can find you easily and start productive conversations based on the information provided.

In this step, you will have the opportunity to select the social networks you want to display on your digital business card. We have six popular options available: Facebook, LinkedIn, WhatsApp, Instagram, Twitter and Youtube.
To fill in the information correctly, just enter the link to your profile on the desired social networks in the corresponding fields.
Check that the links are correct to ensure that people can find and connect with you on their preferred platforms.
It is worth noting that to share the LinkedIn profile link, you need to follow a few additional steps:
1. Open your profile in the LinkedIn app and click the "three dots" next to the "Add section" button.
2. Then a sharing option called "Share profile via URL" will appear. Select this option and copy the generated link text.
This is the link you should add to the LinkedIn field when selecting it as a social network for your card.
Take advantage of this step to give your contacts direct access to your social networks. This lets them connect and follow your work, projects and updates across various online platforms.

In step 5 of the Creator, the user can add a background to their digital business card.
They can do this in three ways: selecting an image from our database, uploading an image from their device to the app, or choosing a solid color they like.

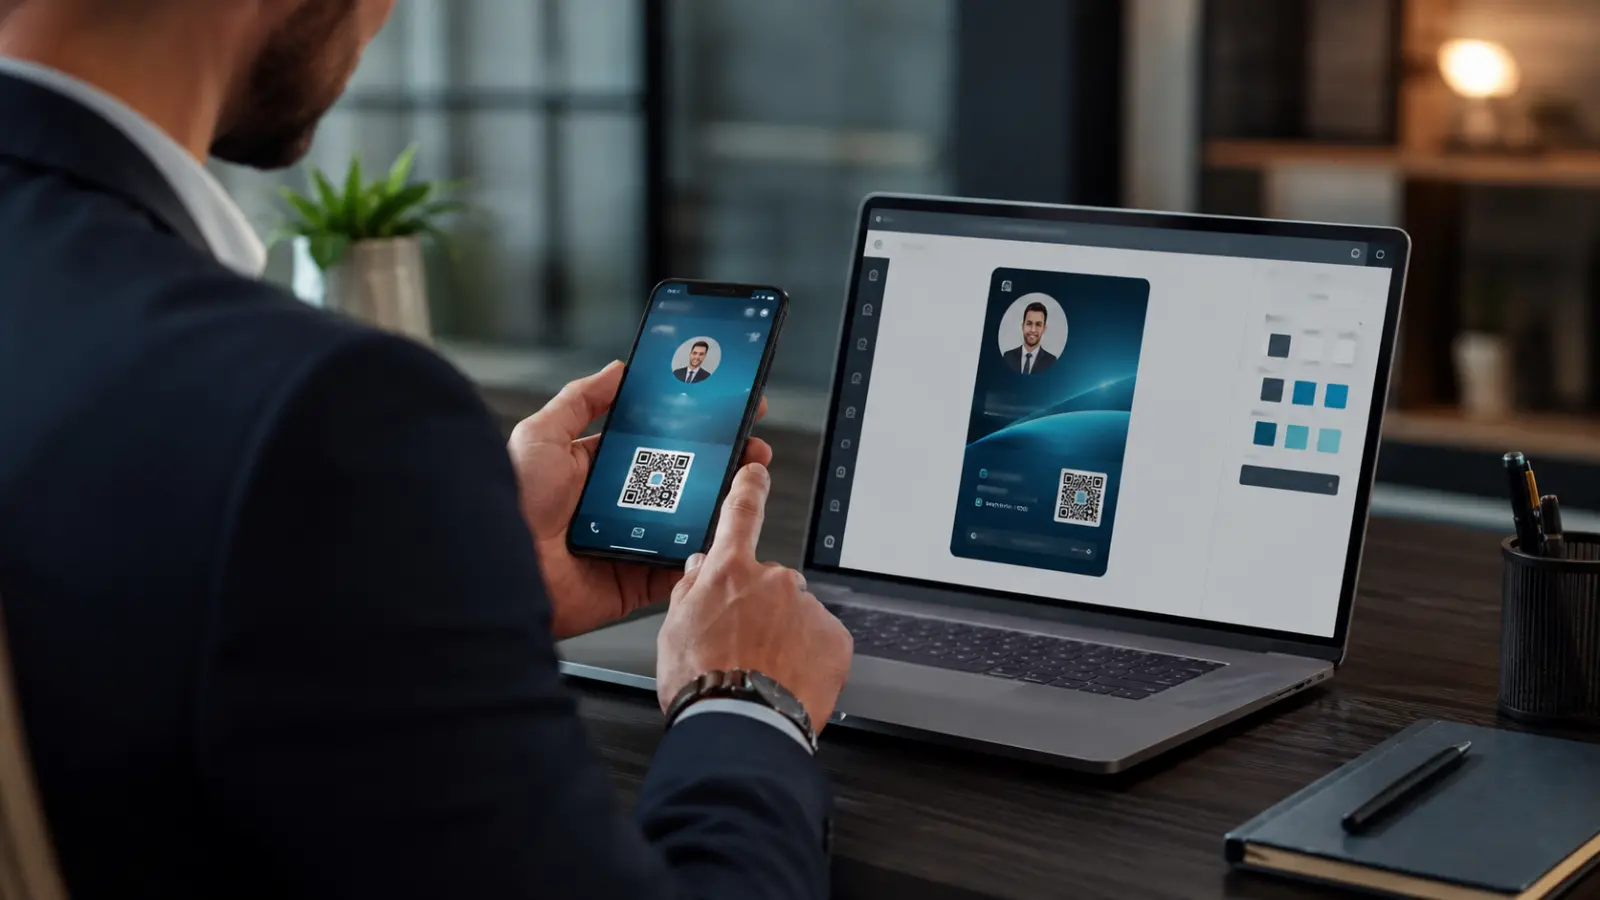
In this step you can preview your chosen digital business card, as well as edit the file name (which will appear when you share it) and its link.
If there is something you want to change, just click the icon for the step you want.

ClickCard offers solutions for different user profiles, from freelancers to companies that need a fully customized digital identity. The platform currently has three options: Free, Pro and Custom B2B.
Regardless of the plan chosen, all users can create and share modern, interactive and sustainable digital business cards. The difference lies in the available features, the level of customization and the management tools.
The Free plan is ideal for those who want to replace paper cards with a practical and professional digital solution.
With it, you can:
Create up to 2 digital business cards;
Customize contact information and social networks;
Share cards via link, QR Code and proximity;
Update your information whenever needed;
Use the free templates available in the app.
It is an excellent option for students, freelancers and users who want to get to know the platform before moving on to advanced features.
The Pro plan was developed for those who use networking strategically and need more flexibility day to day.
In addition to all the features of the Free plan, the Pro user gets:
Creation of up to 10 digital cards;
Integration with Google Wallet;
Removal of the ClickCard watermark;
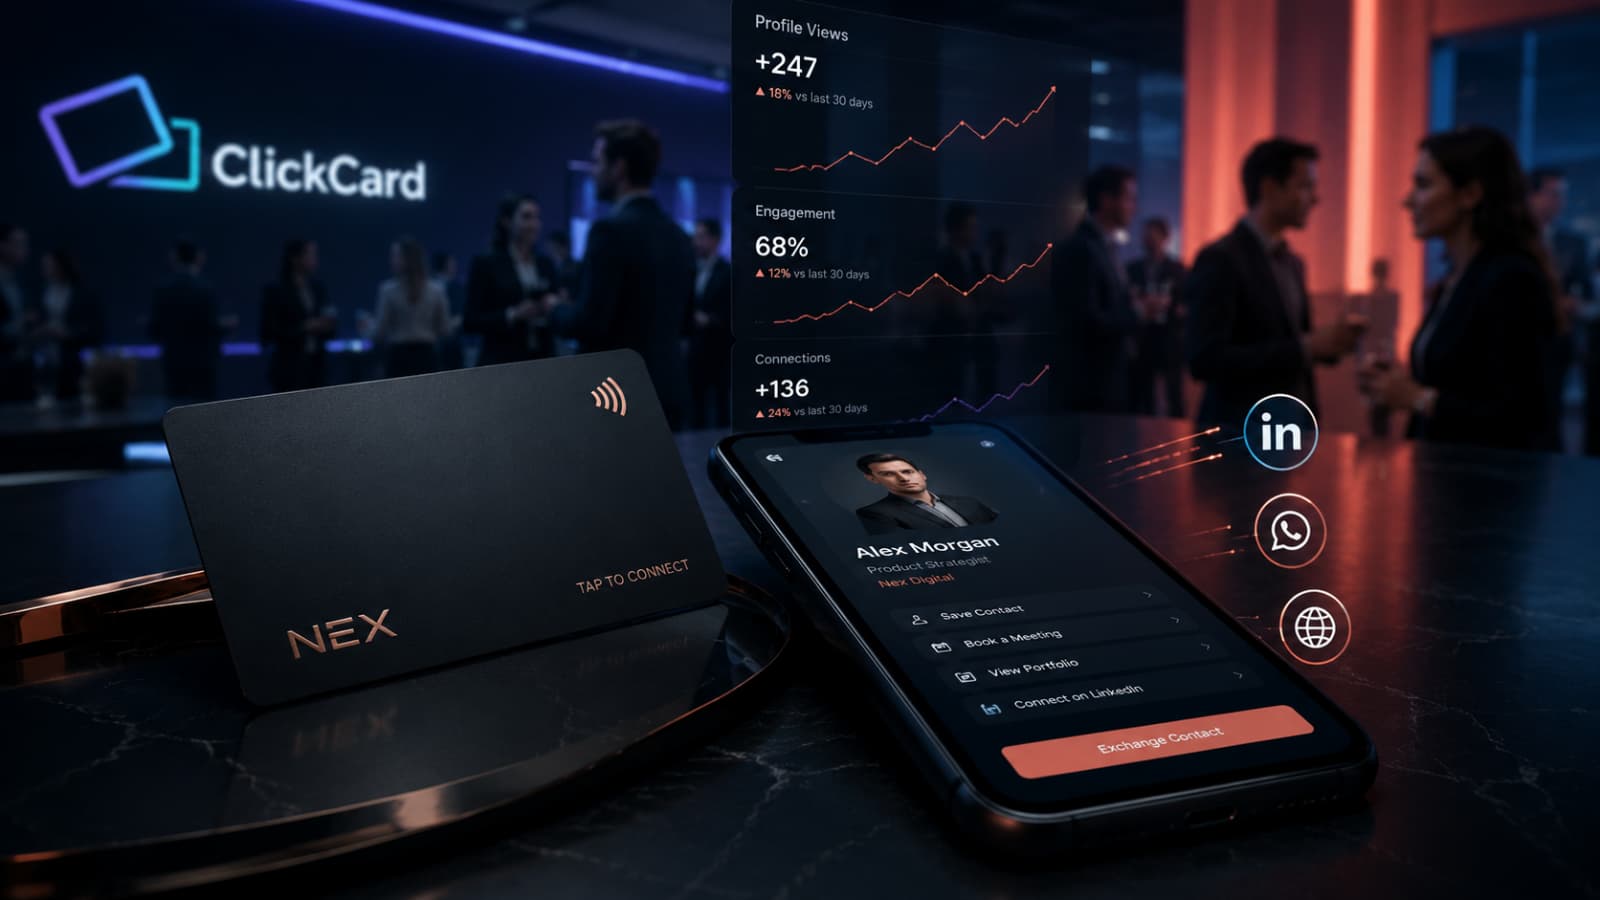
Full analytics to track card performance;
ClickCard widget on the phone's home screen (Home Screen Widget);
More options for customizing and managing cards.
Pro users have access to the ClickCard metrics dashboard, which lets them track card performance in real time.
With this tool, you can view:
Number of views;
Periods of highest engagement;
Interactions made by visitors;
Most accessed contact information;
Results from events, meetings and networking activities.
This data helps professionals and companies better understand how their cards are being used.
All contacts captured by ClickCard are stored in an organized digital wallet.
The tool makes managing professional relationships easier, letting you access contacts that were shared, scanned or received by proximity in one place.
For companies looking for an exclusive experience, ClickCard offers the Custom B2B option.
In this model, our creative team develops a digital card aligned with the brand's visual identity, respecting elements such as:
Logo;
Typography;
Color palette;
Graphic elements;
Photographs;
Branding guidelines.
In addition to including all the features available in the Pro plan, the B2B solution comes with exclusive benefits for companies.
B2B clients have access to the ClickCard web panel, allowing them to manage cards, teams and settings in a centralized way.
The platform makes it easy to distribute digital cards to employees, update information and track metrics in a single environment.
Pro users and B2B clients can also purchase the ClickCard NFC Card.
With it, just bring the card close to a compatible smartphone to instantly share your digital card.
The best part is that the card's destination can be changed at any time through the app or web panel, with no need to produce a new physical card.
Free: for those who are starting out and need up to 2 digital cards.
Pro: for professionals who want advanced features, Google Wallet, full analytics and up to 10 cards.
Custom B2B: for companies that need an exclusive visual identity, corporate management and specialized support.
Regardless of the plan chosen, ClickCard offers a modern, sustainable and efficient way to share contacts and strengthen your professional networking.

To access all the benefits mentioned above, just download the ClickCard app or get in touch with our team.
ClickCard is dedicated to solving networking problems, offering ecological, economical and innovative solutions to its customers.
To learn more about our causes, values, vision and mission, visit our website and get to know more about us.
We are here to help you create a unique and impactful digital business card.
Click here to download the App (Android and iOS).